


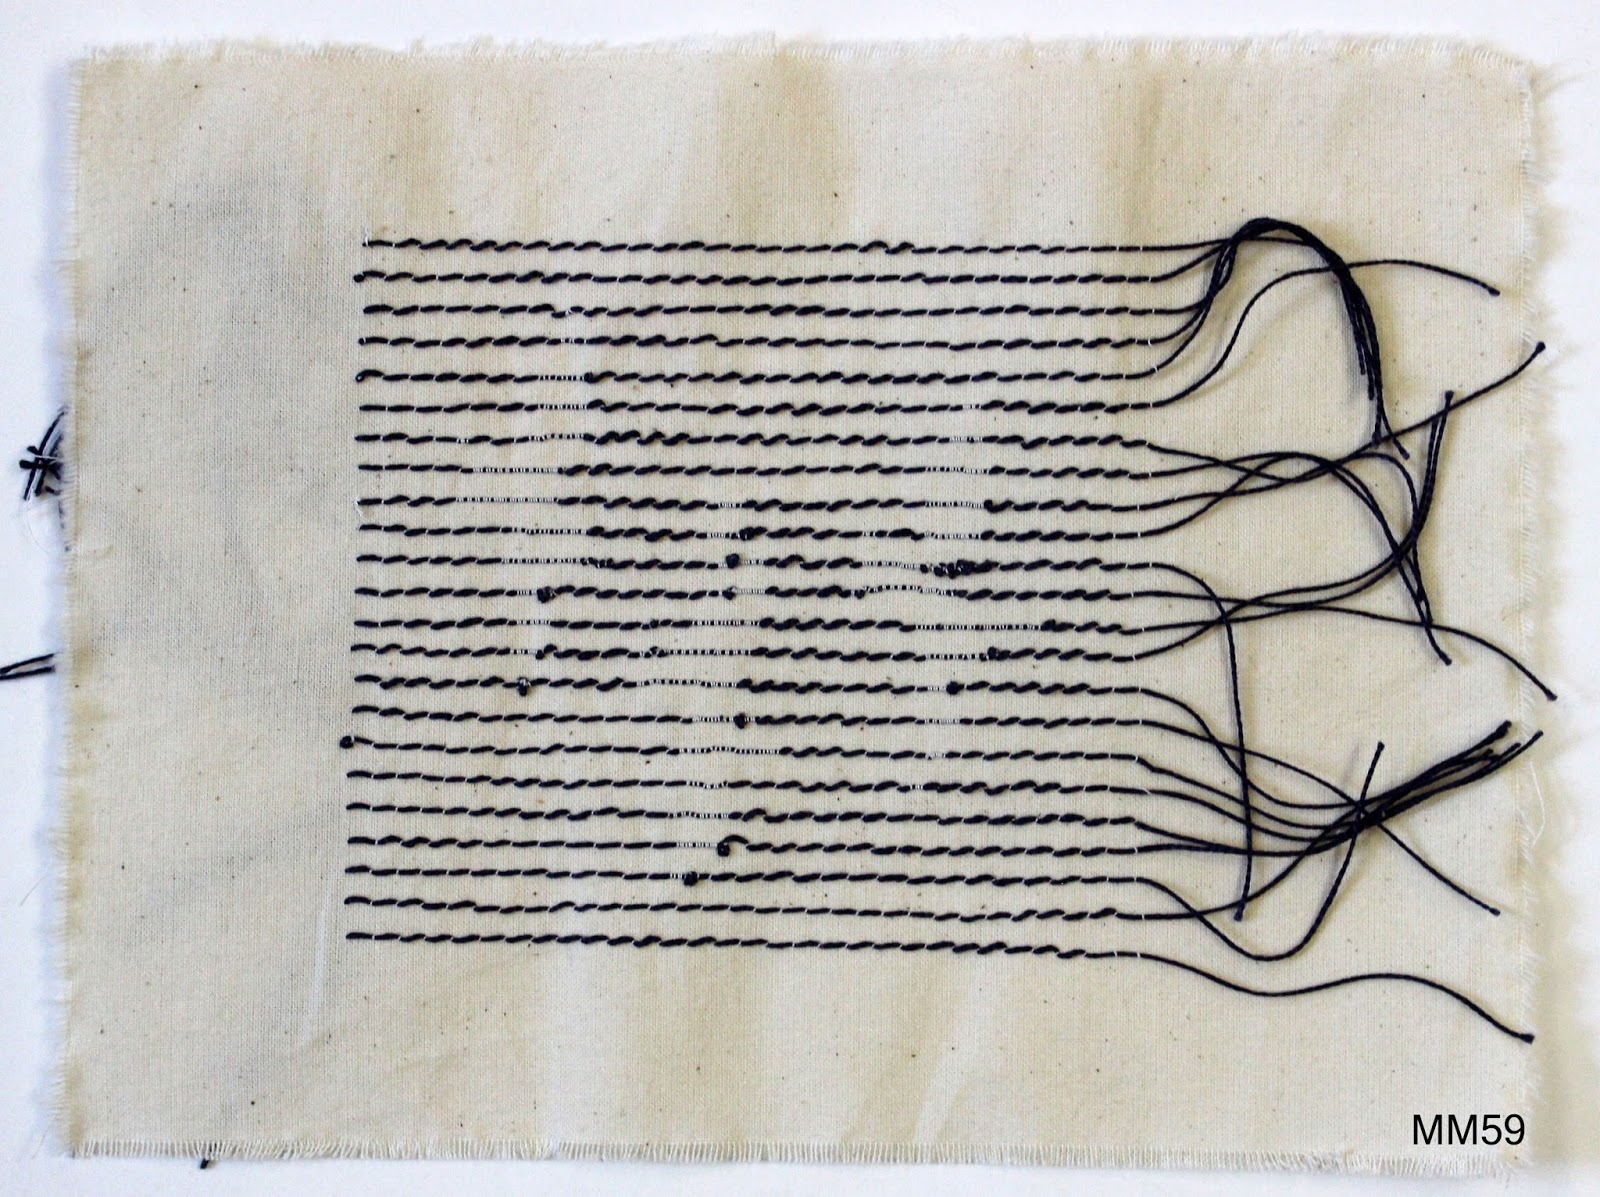
Then, using one of my gull designs I made a linear sample, reducing the stitch length for the gulls (MM58-59).

Using the same design and free machine stitching (MM60-61).


Reverting to the gull design used in the handstitched underside couching (MM47) and a similar background, I machine cabled a sample using DMC Fil Or in the bobbin and Dewhursts Lt Cream 40 (D16) on the top. The length of the stitch was varied between 3 (background) and 1 (gull).
MM 62 - front - the gull appears very golden as the acrylic used to paint the canvas is showing through the machine stitching.

MM63 - back

MM64 - enlargement of back

MM51 - enlargement of back of handstitched underside couching

Comparing the machine stitching using cable stitch to give a representation of underside couching versus handstitching, it is undoubtedly quicker to work but to me there is no comparison as the character that can be produced with handstitching is missing and the result is altogether flat and lacking in vibrancy.
No comments:
Post a Comment