Sunday 21 February 2021

Diploma Module 3 Chapter 11 - Developing an Idea for your Second Assessment Piece

Criteria

Specified
  • wall hanging or panel based on design evolved from my Personal Research Topic - 'gulls with an emphasis on shadows'
For this I choose to make a wall hanging - a suspended, 2D textile which drapes softly.

Sources, Stages of Thinking

I have been making these small boro inspired pieces since Module 1, first in layered papers, evolving with three layers of cloth and now with a net backing (see 11-1) after Merill Comeau's workshop at the TextileArtist.org Stitch Club.  

These new pieces are small - approximately 14.5cmWx29cmH.  In Module 3, I started adding knitted sections to them which had relevance to my research subject using stitches reflecting the Manx and Aran knitting traditions - leaf edging, seashore edging, Aran stitch patterns, little birds, berry stitch, grain of wheat stitch, etc. alongside my favourite wonky blocks from one of the cushions in Harry Kelly's cottage at Cregneash, Isle of Man.


11-1    Net backing.


Image 338 - paper lamination with cut out gulls.


Image 250    Design exercise Module 1.


11-2    Cut away design exercise from Module 1 (new)


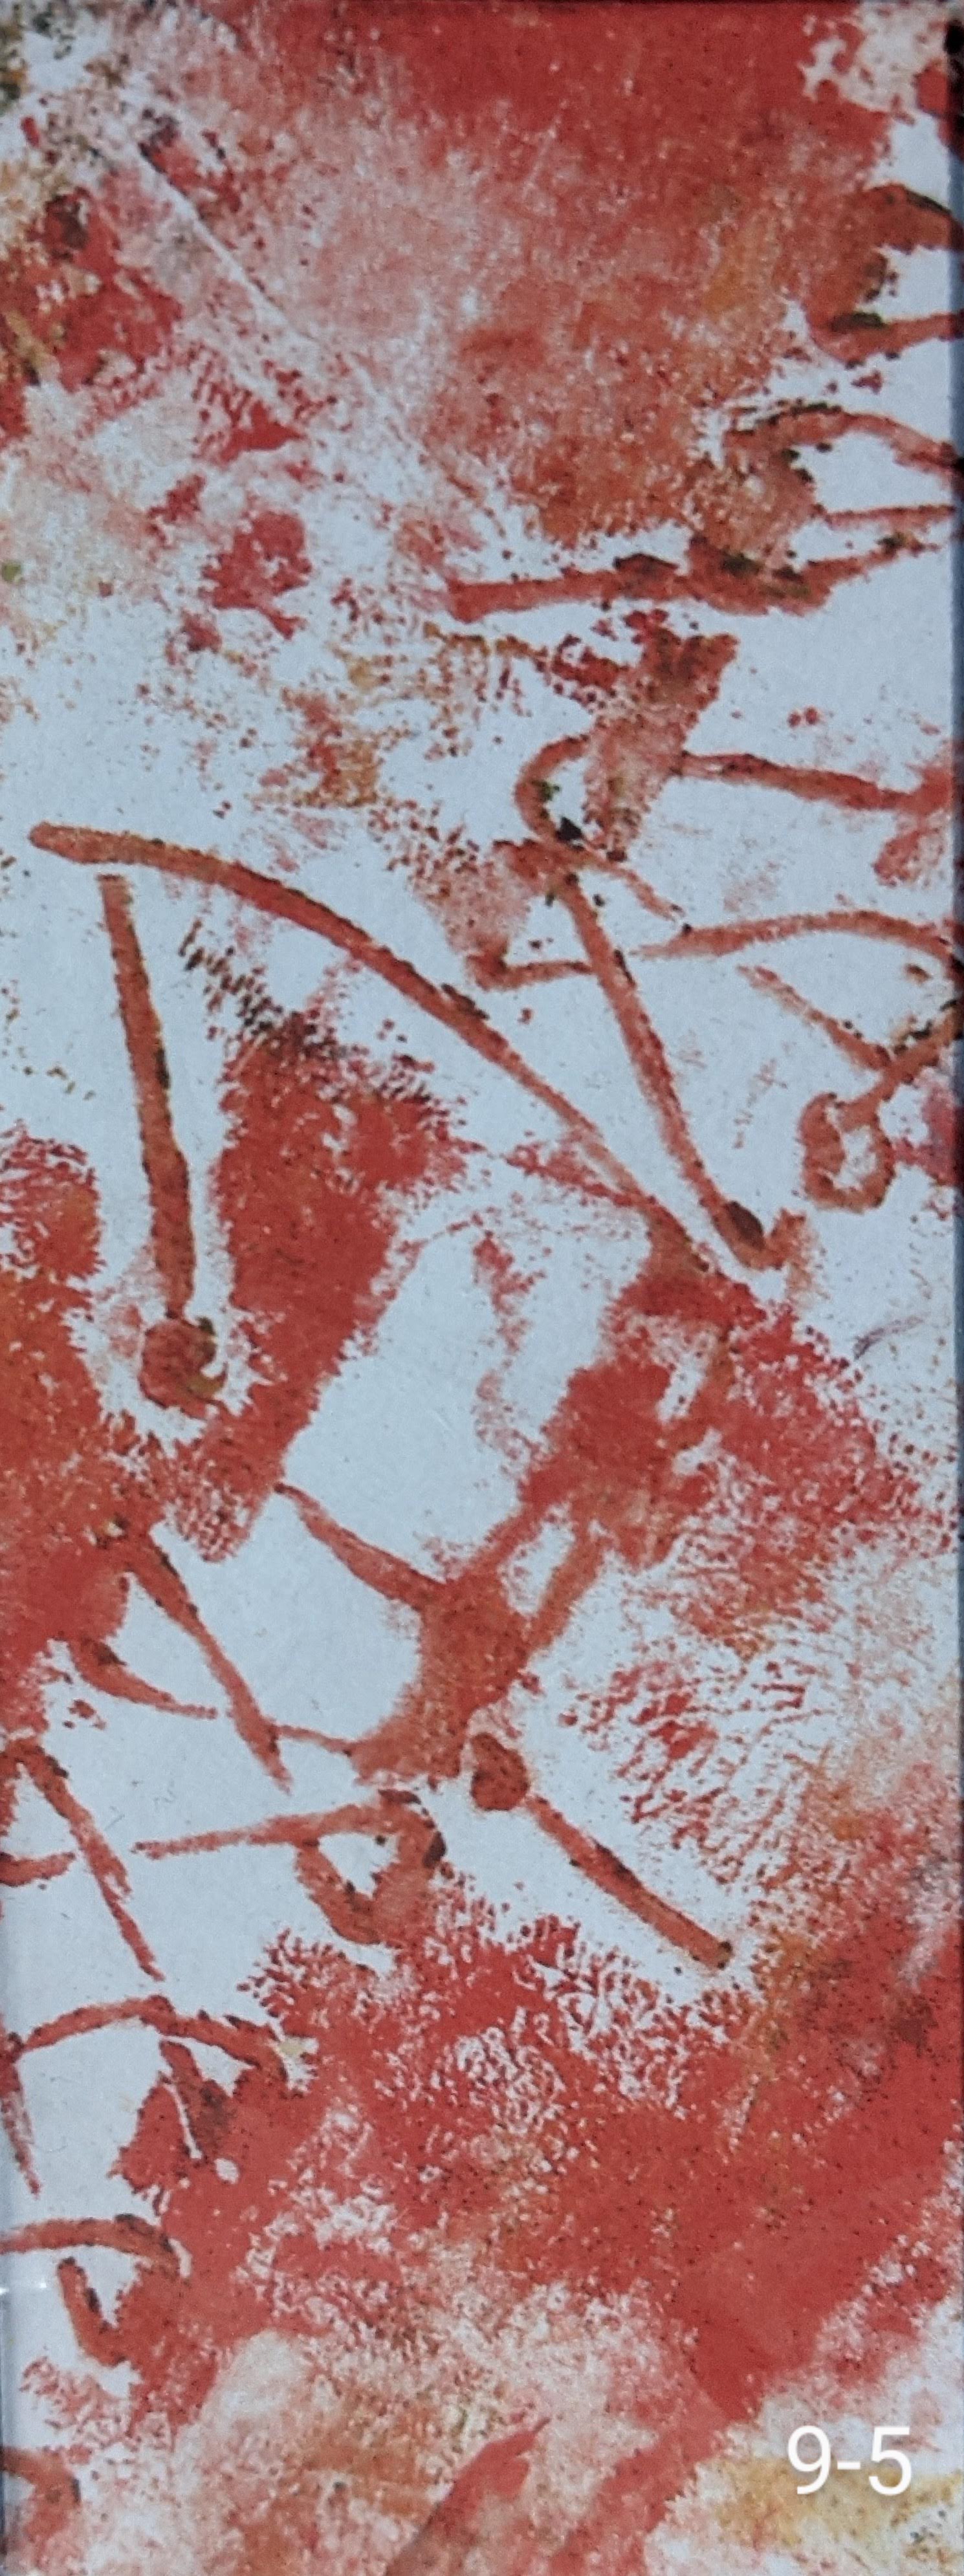
2-11    Printing from large stitched blocks in Module 2.


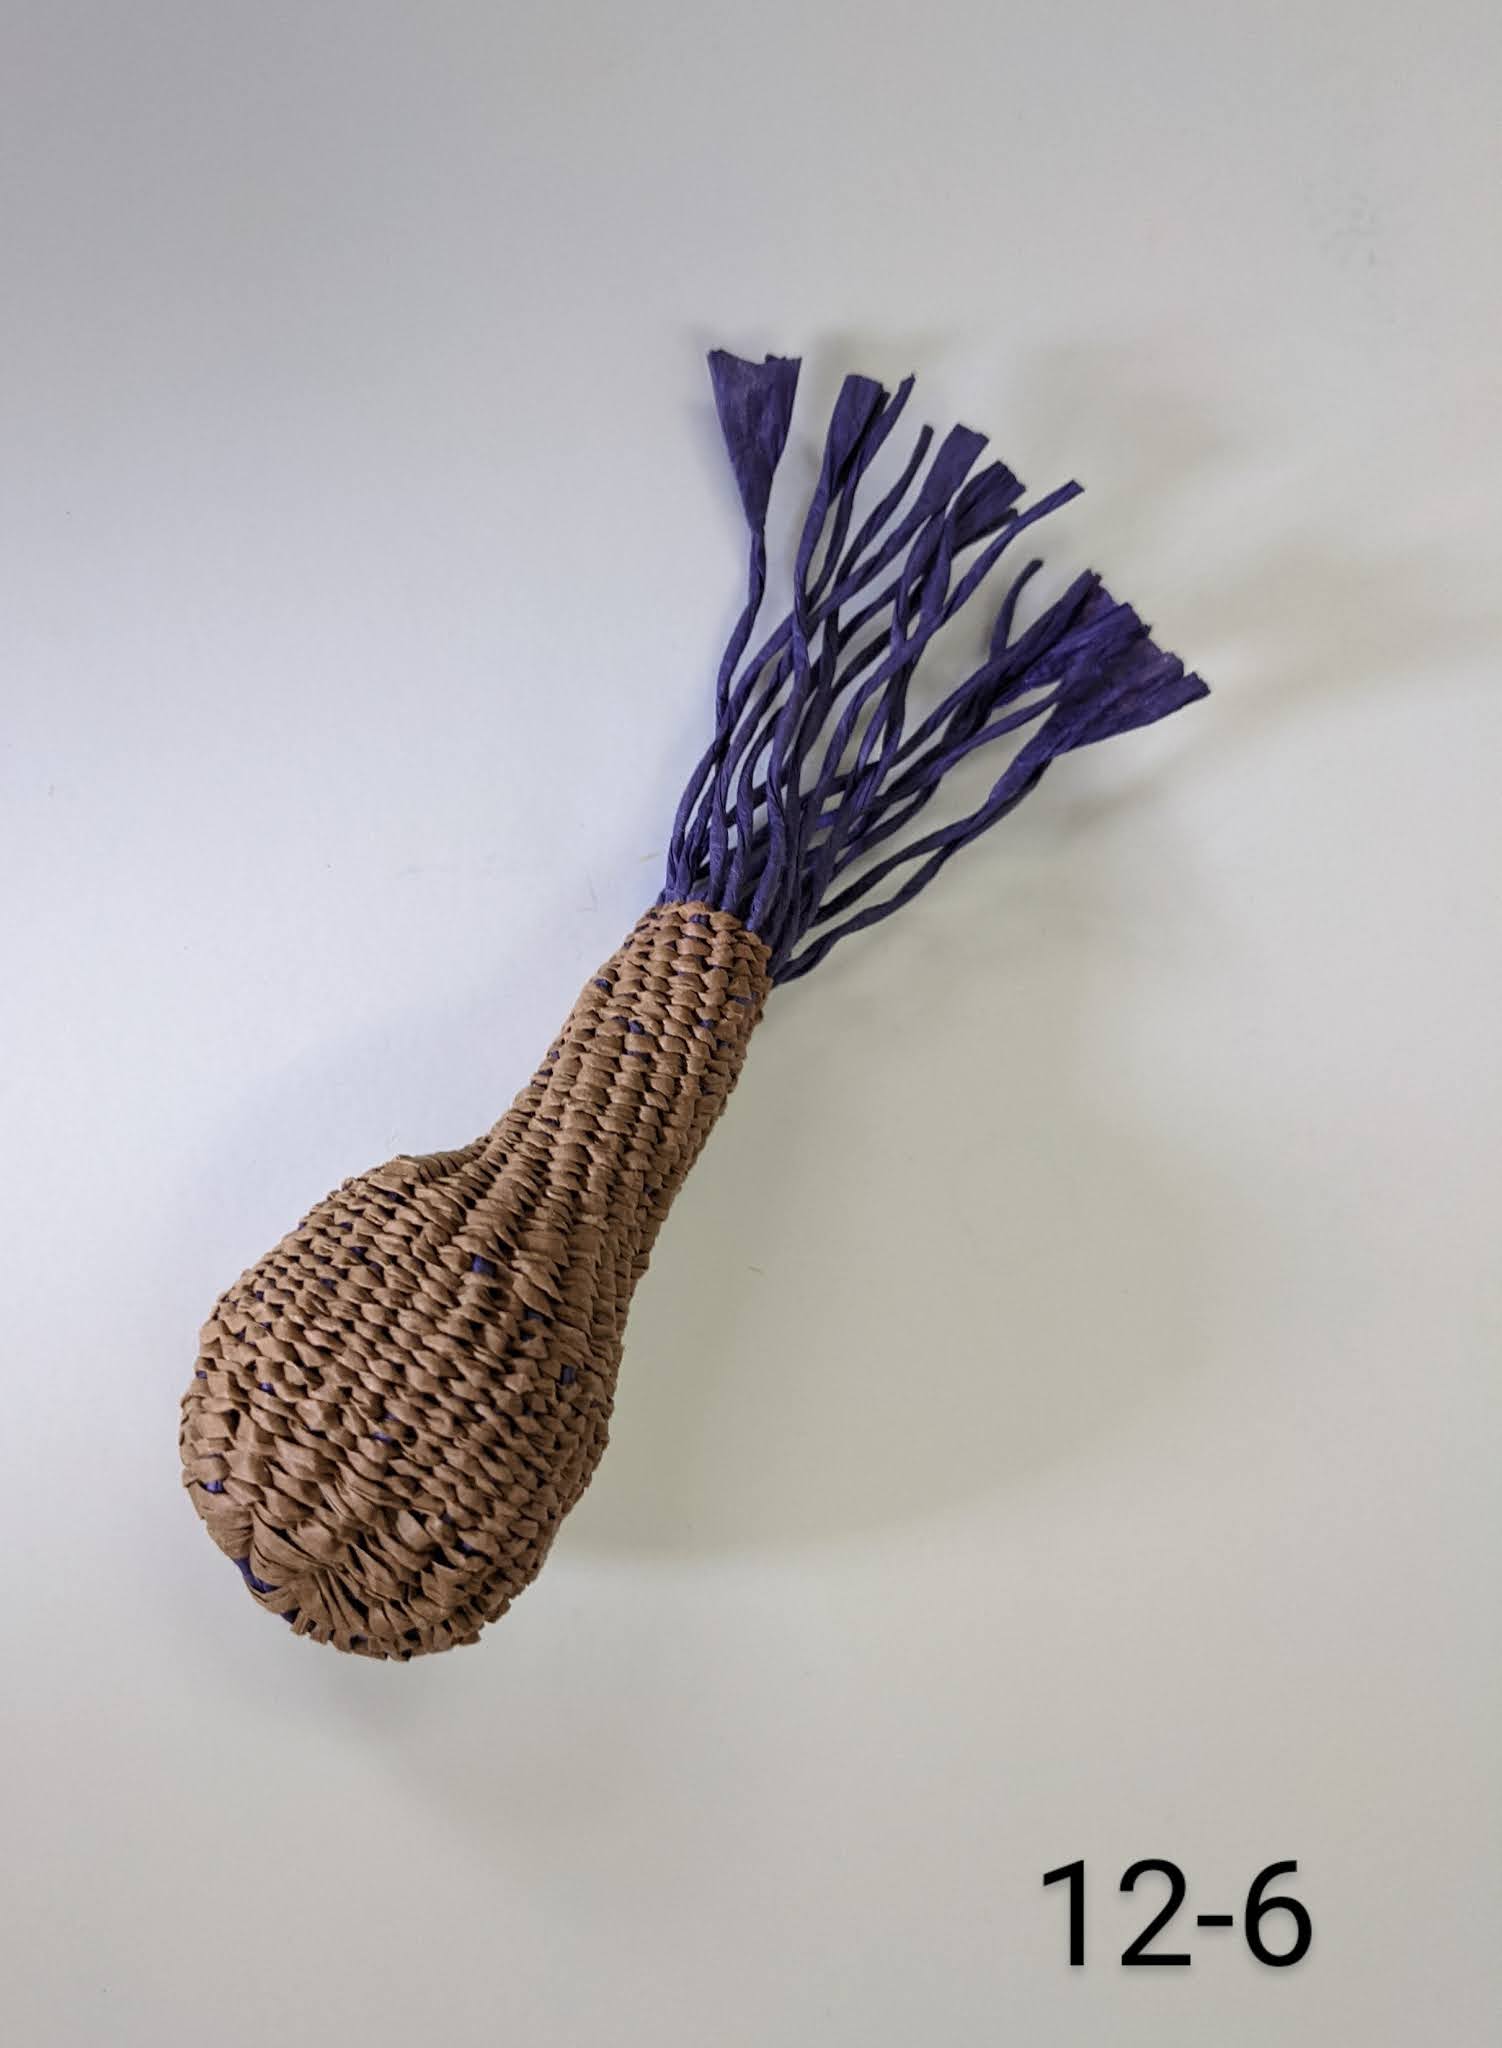
12-9    Air dried clay with impressions of stitch from knitted paper sample.


Whilst on the Island I saw an exhibition BC20 FK17 at the Sayle Gallery by four artists, including Ian Coulson.  I kept thinking about his work and found that it had been filmed and was on YouTube, the link of which is given. Ian Coulson's work is all about the fishing out of Peel.

A Cas Holmes workshop inspired MM219.  It incorporated music into my piece, 'A walk to Peel'.  The music is from The King of the Sea, with words by Fred Gill, a Manx National Song.  This is also about Manx herring fishing and contains the line, ' The gannets plunge, the gulls keep watch', a line that I would like to incorporate here.


Proposed Hanging

 I would work as for a small boro inspired piece, scaled up and including,
  • design ideas developed in Module 1, design exercises from my research topic 'gulls with an emphasis on shadows' and further development of these ideas in Modules 2 and 3
  • neutral/limited palette, with little splashes of colour - blue, natural, grey, rust, white
  • use of hand knitted construction techniques alongside more traditional techniques
  • gelli printing using hand made blocks from knitted construction techniques, including Aran knitting patterns, playing with scale
  • heavily textured hand knitted sections
  • cut-out gull sections selected from Image 250 and 11-2
  • text (see above)
  • use of recycled material, painted or plain
  • net backing
  • quiet space
  • hanging away from the wall on bulldog clips
  • handstitched using kantha technique
  • non-symmetry
  • layers of pattern and shape
  • ripped/cut edges
  • changes in scale
  • quiet space in design - keep it simple
  • influence from Japanese boro textiles
  • 50cmWx100cmH.

Diploma Module 2 Chapter 14 revisited - Developing your own design ideas

Thanks for your very useful feedback Sian.  I thought the best idea forward here was to repeat some of my previous ideas, removing those that are now redundant after taking on board that the grid pattern designs were too complex for this piece and wouldn't give me enough scope to play with stitching.  Therefore I have removed them and concentrated on the 'pinboard design structure' in #231 and #204, mainly concentrating on ideas in #204, with variations.

Proposal for First Assessment Item

Criteria

Specified

  • made mainly of metallic materials
Personal
  • using design ideas developed in Module 1 design exercises from my research topic 'gulls with an emphasis on shadows'
  • consolidating many of ideas sampled in modules 1 and 2
  • neutral/limited palette, with little splashes of colour - blue, silver, brown
  • non-symmetry
  • layers of pattern and shape
  • ripped/cut edges
  • changes in scale
  • introduces quiet space into design - keep it simple
  • use of wax 
  • influences from Japanese boro textiles and traditional English spot samplers.


Above are two pieces from the original design developed at the Summer School with Jan Beaney and Jean Littlejohn.

Image 204 - mixed media piece from workshop with Debbie Lyddon (middle section is collaged onto paper), gulls cut out to produce shadows if piece hung away from wall.


MM303 is another design in this series - collaged painted papers, machine stitch, wax.

Though images #204 and MM303 are in the same series, my preference is for #204.  It is simpler, not as busy, has quiet space, the colours are more muted/relaxing and I like the way the middle section is bordered, though it does seem a little cramped and needs a little more space. The left and right edges of #204 are frayed, complementing the design, whereas the hard edges in MM303 seem harsh...too hard...too abrupt.

The six abstract 'eggs' in the middle sections would be little gems of metallic stitching, shown below -  think FabergĂ©!  Some samples are shown in gold, but these would be silver with the stitching in brown, as per gulls eggs.


and yes, a glutton or punishment, hand stitched underside couching, but the back view forward.


Some of these stitched sections would be inserted from behind and peep through a cut out, others would be overlayed.

For the stitching of the border to the middle section:


Cut, wired gulls in the edge sections. This photo demonstrates the technique.
 

One of the six gulls would be collaged rather than cutout. The collaged gull would have a similar construction to Image 236, below, but would be more abstract/fluid in shape with no features and the stitching would be integrated into the shape.  


MM305    Line drawing showing where there would be enlargement from original design and also the gull in the bottom right corner pointing in the opposite direction, to keep the eye into the design.  This would be the collaged gull.


The piece would be constructed from two layers of calico, waxed together to enable the insertion of the stitched sections in the middle and to give it rigidity to stand alone.  The two outer sections are 'hinged' to give stability.  

The coloured section in the middle would be rolled with white and then blue and various acrylics, as before in my samples, keeping the background simple to allow the stitching to shine through.  The brown will have to be sampled but similar to the colour in the bottom left of #231.

Final dimensions 21cmW x 20cmH.

Saturday 20 February 2021

Diploma Module 3 - Costing Materials, Recording Time, Health and Safety, Storage of Work and Authentication or Work

Costing Materials

If Lockdown has a bonus, it's not being able to go out and spend, so everything bought was bought specifically for this module.

                                    £

Art /printing materials                                

Golden silver and pearl iridescent paints 12.40

Daler Interference Medium                        6.57

Payne's Grey acrylic paint*                                     14.41

Pritt                                                                  3.00

Madeira Marker                            3.38

Procion neutral grey dye                            6.59

Other*                          20.00

sub-total                                                   66.35

Paper and sketchbooks

Other*                         20.00

sub-total                                                   20.00

Material and threads

Jute                                  2.88

Twine                               6.89

Hairpin Lace Kit                   4.99

Waxed thread                           7.99

A1 Cutting Mat                                 15.99

Sashiko Needles                 5.39

Other*                                                                     25.00

sub-total                                              69.13

Total                                                                                    155.48

*estimate from stash

Recording Time

Based on elapsed time of two weeks to complete a chapter, working for 2x8 hour days per week.

10 chapters approximately 320 hours.

Health and Safety

Any particular health and safety details have been noted as I performed the tasks during the module.

Additionally,

  • keep wires from electrical items away from main thoroughfares
  • take a break and move around at least once an hour
  • keep 'sharps', e.g. scissors, awls, bradawls, etc stored in a cork
  • wear rubber gloves when using bleach and keep room well ventilated
  • dispose of sharps considerately
  • don't inhale metallic powder or other powders. Wear a mask if prone to irritation.
  • take care when heating metal. Check that it has no plastic coating if recycling items, e.g. tomato paste tubes. Hold the metal with pliers, heat it outside for ventilation and have a metal tray handy on which to place it.
  • always store art materials clearly marked and away from the kitchen/children/pets.
  • using wax and wax pot - keep pot on work surface with flex out of way so don't pull pot over.  Cover floor before you start, but should any wax get on floor clean off with scraper (credit card) and abrasive cleaner so don't slip.   Cover ironing board with newspaper/kitchen roll and silicon paper - then another layer of silicon paper on top before ironing.

Storage of Work, Materials, Tools and Equipment

Design Work in Progress - kept flat in marked, homemade wall paper lining folder and easily accessible

Completed embroidery - boxed, wrapped in acid free tissue or framed

Completed design work - kept flat, in folders, in cardboard boxes

Papers for design work -  kept flat and covered to keep clean

Inks - lids secure in rainbow storage tower, attic

Paints for design work - lids secure in plastic crates

Other items like glue, bleach, sprays - lids secure, labelled clearly, away from children and pets

Embroidery work in progress - covered, usually in pillow case, easily accessible

Fabrics - in under-the-bed crates in attic, fabrics in use in reusable supermarket bags

Threads - stranded - wound onto bobbins, by colour, in plastic containers

              - sewing machine - in plastic shoe boxes, by colour

              - interesting textured - in plastic shoe boxes, by colour

              - machine embroidery - in large plastic box

Beads - small plastic containers in shoe box

Metal threads - acid free tissue in plastic toolbox

Dyes - lids secure, plastic container

Sewing machines, embellisher - upright, covered, normal room temperature

Special materials, e.g. abaca tissue, lutradur - rainbow storage tower, attic

Printing materials - under-the-bed crate, attic (when not in use)

Lino cutting tools - plastic crate, attic

Other electrical equipment - rainbow storage tower, flex lightly wound, stored when cold.

Wire - drawer - masking tape over any sharp ends and kept together with masking tape or cable ties

Wax pot and wax - original box with brush, then in crate with other associated materials

Gold thread - wound round velvet tube and wrapped in acid free paper (to stop corrosion)

Raffia and paper thread - on cone if possible with heavy weight tied to end to stop unravelling and then in large clothes storage bag or plasic crate

Print blocks - made or bought - dry well after use and keep flat in box with design work

Foils - flat in rainbow storage, attic

Cutting boards - upright and flat so don't warp.

Authentication of work

See email.

Diploma Module 3 - Evaluation of Completed Work

Choice of research theme

Choosing to look in depth at Manx Crosses and concentrating on Manx/Celtic patterns in the Constructed Textile/Knitting option gave my research a strong personal connection which made its study a pleasure.  It has also given me a large resource for this and future work.  When combined with my Japanese boro study, it has helped me develop what is becoming, I hope,  an individual style. 

Use of sketchbook to glean visual information

For this module I have worked in a Seawhite, approx. 31cm square sketchbook with black pages. As I said at the end of the last module, if people work in different ways, some plan and then produce; some produce then adapt; some plan, produce and adapt, then I am probably in with the first, plan and produce (and only then adapt if the original plan isn't quite what was anticipated).   I am finding now that if I sample in my sketchbook as I go along, the sketchbook is becoming an even more useful tool, giving me ideas on which to base future work and also a focus for continued stitch/technique exploration.  In this way the sketchbook used in Module 3 is already providing directions for future work.  It has made me more confident that what I make will work, both in terms of design and technique, due to the sampling as work in the sketchbook progresses. It has been invaluable in helping me collect and explore ideas.

Your designs

Again, the only way I can address this is by considering what makes me excited and want to go on to do more, either in research or making.  There are two things that jump out from this module:


2-11    Large stitches were made to use as a printing block, which was printed on paper.  I'd like to take this further either by knitting in yarn that would give a good print or by embroidering stitches/making braids that resemble knitting and printing from them.  These I would incorporate in my 'boro' work (see Module 3 - Chapter 11 - Developing an idea for your second assessment piece).


12-9    The imprint of the knitting in the air dry clay could lead on to a series of work, similar to that above, but based on clay panels and weaving.

Proposed design ideas

See above and Module 3 - Chapter 11.

Artists' study

The artists I detailed in Chapter 12 were specifically chosen due to the type of work they produce.  Before Lockdown I was fortunate to attend workshops that complemented the work in this module and that is why I chose some of these artists.  As the chapter this time did not say how many artists to study, I have looked at many more that I did not mention in Chapter 12, not only those in the textile world but also working in other media, e.g. sculpture, ceramics, fine art, etc.  It has provided a rich source of inspiration.

Friday 19 February 2021

Diploma Module 3 Chapter 12 - Textile Artists who use Construction Techniques

During my studies for the Diploma I've been collecting samples made at workshops with various contemporary artists/designers/makers that involve construction techniques.  Through looking at these and other techniques and textiles from other cultures, it has become apparent how they are inspiring the development of my own work.  Combined with my studies, seeds have been planted for a body of personal work.  So, in no particular order, mentioning people already studied and previous work in some cases with links given where appropriate:

Debbie Lyddon

Before everything locked down I was fortunate to attend three workshops given by Debbie Lyddon on Seeing Sound, Stitched Collage and Sculptural Forms, the latter being the most relevant here.  In addition I belong to the TextileArtist.org Stitch Club where Debbie gave the inaugural workshop on stitched containers.  Some of her work involves making containers, some of which hold found treasures.  These have stitched wire or cord eyelets giving you a glimpse of what is held inside - Debbie Lyddon containers.  

Using this idea, my 'eyelets' take the form of gulls, and rather than being found, my three small treasures were specially knitted to fit into my containers, revealing the unique character and texture of the knitted stitch.

12-1    Three hand-knitted samples in shifu paper yarn, from left to right garter, moss and basket weave stitch.  Using the correct number of stitches to give the appropriate dimensions was very time consuming as different stitch patterns produced different sizes on the same number of stitches.  Once completed the knitted samples were painted with white emulsion.  This gave them rigidity and a more sculptural form (see Inger Odgaard below).


12-2    Containers to hold treasures.  Painted calico, wired and stitched tops and gull cut outs reveal the knitted treasures inside.  These are displayed on a reclaimed slate roof tile.


I also studied her work as one of my artists in Module 1.

Brenda Mallory

At the Debbie Lyddon Sculptural Form workshop I was introduced to the work of Brenda Mallory, born in 1955 in Oklahoma and who lives and works in Portland Oregon.  

'Brenda Mallory’s mixed media sculptural works are comprised of a variety of materials including cloth, fibers, beeswax, and found objects.  By creating multiple forms that are joined with crude hardware that imply tenuous connections or repairs, her work addresses ideas of interference and disruption in long-established systems of nature and human cultures.'

Taken from entry at Julie Nester Gallery

Brenda Mallory website

Brenda Mallory at Julie Nester Gallery

12-3/4    Made using a wing shape, calico, Payne's Grey acrylic, wax and wire.  Though based on a wing shape this piece has also been likened to dancing legs (Tiller Girl's) and teeth!


Priscilla Edwards/Jones

I have made two trips to Unit Twelve in rural Staffordshire for workshops, the first with Jennifer Collier an the second with Priscilla Edwards.  After an early start and a long drive, the friendly welcome and excellent workshops have made it worth the effort.

'Priscilla has been making mixed media pieces in 2D and 3D since completing her degree in Embroidery ay Manchester Metropolitan University in 1997.  Exploring identity, memory and nostalgia, Priscilla creates whimsical pieces that reflect her love of collecting ceramics, textiles and ephemera.  Priscilla is continuously exhibiting her work both nationally and internationally and lectures in Higher Education for UCA, she also delivers a programme of independent workshops and talks in galleries, museums and schools.'
Taken from Priscilla Edward's website.

12-5    Mixed media sculpture, wire, silk, wax and stitch.


Mary Crabb

Two trips to West Dean for very instructive weekends with Mary Crabb studying twined pods and twining and looping on moulds gave me an insight into this technique.

12-6    Worrypod: twined paper yarn


Jean Draper is another textile artist whose work I have researched and she too works over moulds (Stitch and Structure by Jean Draper, Batsford 2013).

12-7    Twined structure: paper yarn, paper-covered cake wire


Inger Odgaard

I discovered this Danish artist on Instagram: she is also on Facebook.

'I knew how to knit before I could write - it's like a language to me.  All my pieces are hand knitted in different materials.  I decide on form or shape and after knitting it, I apply different media.  Each layer applies a new skin, turning them more solid and helps to preserve their fragile, fossil-like structure.'
Inger Odgaard, Facebook, 11th December 2020

12-8    Rectangular knitted structure based on the pattern (wonky block stitch) on a cushion in Harry Kelly's Cottage, Cregneash, Isle of Man. The Structure comprises six pieces - back, front and four side.  Before assembling each section was soaked in emulsion, making it rigid.


Hilary Hollingworth

What makes a piece of textile art special?  Whatever it is, Hilary Hollingworth's piece 'Ghandi came to 'wistle' has it for me.   I've mentioned this piece before in the chapter on figures. Hilary Hollingworth uses techniques which add layers to the ground including her own darning/weaving technique whereby an additional directional warp is inserted on top of the ground and needle-weaving is carried out through this.  This gives the directional interest as the warp changes and also forms texture in the robes. The needle-weaving can be dense or loose for additional interest in the surface texture.  Also used are collage, patchwork, dry-felting and hand stitching.   It really is a delightful piece as is 'White over t'hedgerows', p97 of Jean Draper's Stitch and Structure (above).  In this piece, two sections which use her unique needle-weaving technique are united by a paper woven central structure.   

12-9    Impressions of knitting from 12-10 (Harry Kelly's Cottage wonky block stitch) in air dry clay.  The holes at bottom edge made in clay were made while it was still wet.  Washi paper yarn warp and weft.


12-10    Harry Kelly's Cottage wonky block stitch in shifu paper yarn.  This was used to print into the air dry clay, above.


Miscellaneous

A set of panels came from my study of various artists and their work and my love of boro textiles.  I include these here, 12-11 to 12-13.  Following on from a workshop with Merill Comeau on the  TextileArist.org Stitch Club, rather than using, say, three layers of material when I make a mini boro (rather like a kantha quilt) I started using black net as a foundation fabric as she does.  Into these boros I inserted mini knitted blocks that had been painted with acrylic prior to application.  Then, if they were sections that had a lace like stitch, I could cut the net away behind the knitted sections to allow light/shadows to appear from them.  All are displayed on reclaimed slate roof tiles.  Note some of the knitted edge sections.


The above are reminiscent of work by Ali Ferguson - Patchwork Samplers One and Two, but rather than repurposed bed slats, vintage haberdashery and hand stitching as she used, I have hand painted fabric, various knitted fragments, recycled materials and hand stitching.  Once you start putting these together you have trouble stopping. It's quite addictive!

Wednesday 17 February 2021

Diploma Module 3 Chapter 9 - Designing - Option A - 'Over the Edge'

When I started reading this chapter my work from Module 2 Chapter 6 immediately came to mind (was it really November 2017!).  So I revisited Decorative Details from a Shisha Textile, particularly the results from prints on tissue paper taken from a gelli plate.  Three designs were selected which I hoped would give me scope for an interesting extended design.


On acetate sheet I made a rectangle 4x10cm and found four sections on these designs that caught my attention:


I decided to work with 9-7 (from 9-3).

First stage

9-8         The small section was positioned vertically on A4. Masking tape with torn edges of different widths was placed vertically to extend the lines containing the 'stitches'.  Ochre acrylic was dry-sponged on the extended surface and also drag-rolled with a printing roller.  Red oil pastel was rubbed over a textured mat covered with raised circles to form larger red circles.  Additional lines were added at 90 degrees to these circles mimicking the original pattern.


9-9    The masking tape was carefully removed revealing parallel lines of different widths  and the 'stitches' were added over these using the brush tip of two ErgoPro alcohol based Illustration Markers in saffron and caramel.  


9-10    The white round the 'stitches' was cut away using a scalpel.  This is going a little 'off piste' but it is snowing outside and it gave me the opportunity to try layering different colours with the design, 


9-11    The cut design places on a backing made from Anthropologie tissue (I love the colour) PVAd onto paper.  The design no longer 'pops' but becomes muted.


9-11    The cut design was placed on tea bag 'sponged' paper. This had a similar effect on the design as in 9-10.


9-12    The cut design was placed on a backing made from red tissue PVAd onto paper.  The red alters the focus of the design to the 'stitches' and is rather overwhelming.


9-14    The cut design was placed on a piece of silver tissue to evoke elements of the shisha mirror.  Once gain the design loses its 'pop'.


9-11 to 9-14 were interesting experiments but I still prefer the clean lines of the white in 9-10, preventing the design from being deadened, overwhelmed or altering its integrity.

Second Stage

9-15    The new A4 design was placed an angle on a piece of larger, A2, paper.
    

9-16    Rather than immediately start extending the design with different media, I experimented with different design line drawing layouts using the S pen on my new toy, a Samsung Galaxy S6 Lite (well what  else can you do in Lockdown and Snowdown!).  This was similar to the way I had worked on photocopies of a constructed background quickly sampling possible ways of stitching on paper before getting my needle and thread out.  This one I thought was a little busy.


9-17    This one has lost the structure of the original.


9-18   Getting better but the right hand side was too light weight and so the design was losing balance.

9-19    Better.  I decided to go with something like this layout.


9-20    Extended design.  Masking tape, acrylic - added with natural sponge, silicon pastry brush and printing roller, oil pastel and the two ErgoPro markers as before.


9-21    Looking at the design, there was one part of it that didn't work - is circled in black.  On my quick line drawings, the left hand section contained smaller shisha-like circles and I shouldn't have strayed from this. This large broken curve is too dominant and removing this section and replacing it with a smaller circle would  give me a more satisfying design.


9-22    More like this.  However, given that small sections of the final design will be taken this probably isn't an issue.


Third Stage - Take a Portion

I looked for interesting portions of this design using first using the Google editor on my phone 


and then in Photoshop Elements on my laptop, a more powerful editing tool.  Images were sometimes rotated.  Image 9-34 is a transformation of Image 9-30.


Looking at the above images, it became apparent that the images that caught my attention were not necessarily those that contained say 'stitch' detail, but those that had interesting surface marks from the the way in which the different media has been applied to the paper.  It wasn't until the design elements began to blend into the overall design that they became appealing, as in 9-29.

9-34 was the design I decided to take further and redrew this (9-35).


9-35    The colours on the design were built up in layers using Windsor and Newton Art Masking Fluid for water colour,  SeaWhite's medium yellow acrylic applied with a sponge and red oil pastel.  I decided to go for a brighter yellow as I felt the colours were becoming rather drab.  The media used I hoped would create interesting marks.  The masking fluid was removed in two ways, in some cases with a silicon rubbing tool sometimes it was scratched off with a scalpel and the oil pastel was manipulated/scratched with the scalpel at the same time to reveal the yellow beneath.  In the way the media were applied I tried to get an underlying movement into the design from the bottom right to the middle left and the to the top right of the design

Fourth Stage

Using this design I drew up plans to make a curved shape to contain an LED light strip, making it in a similar way to making a light box.  The design chosen has lost the 'stitched' element but this could be used to attach the various sections of the design together (9-36).  These inserts would cast interesting shadows when the shape was illuminated.  From previous experiments (6-68), this could be make from waxed calico and holes to stitch into could either be cut, or made using an awl or a hole punch.  As the sections were waxed, they could be curved before the wax dried to give an interesting shape.


Using Photoshop Elements I tried various combinations of shapes, sizes and orientations  that could make up the curved light 9-37/9.  


Of the above layouts I probably am drawn to 9-37 the most, but sadly even that is too busy.

Fifth Stage

From the enlargement 9-35 a further section was taken and different colourways were tested on this section using Photoshop (9-40/3).


A smaller section of the above design was taken...
and...
I knew if I kept enlarging sections for long enough the gulls would fly in!!! (9-44).  Welcome back.


In terms of my research, this is the section that probably ties in most to my body of work. It is also the design most in line with the things that appeal to me: its strength lies in its simplicity. 

Taking a step back I remind myself of what draws me to a design:
  • a neutral/limited palette with little splashes of colour
  • non-symmetry
  • layers of pattern and shape
  • ripped/cut edge
  • changes in scale
  • introduction of quiet space - keep it simple.
I was going to finish this section here but...

9-49    I redrew 9-44 in selected colours from my palette using oil pastels in white grey black yellow and red.  Then layer upon layer of Golden Open acrylic in Prussian Blue were built up for the background.  On top of the pastel on the wings I added Koh-i-Noor dyes in grey and black and then scratched them with the blade of a scalpel to build up texture.  When I was happy with the result I played with the images in Photoshop.


9-46    Distorting multiple images in Photoshop horizontally.


9-47    More image distortion and varied placement of images in Photoshop.


9-48    9-47 with image separation.


9-49    Simple 'stitch' marks on 9-48.


Looking back on this chapter, my preferred designs here are leading to an assessment piece that is probably a panel.  I still like the idea that it could incorporate an LED strip to make the most of shadows created by either lines of joining stitch or cut outs, rather like a light box.  The fact I reverted to my design theme of  'gulls with an emphasis on shadows' and my chosen colour palette in the later images is probably an indication I wasn't invested enough in the design originally chosen for this chapter and where it was leading.  Even 9-49 is too busy for me and an enlarged panel could incorporate constructed pieces but on a larger scale than used in my resolved sample 6-67 to give simple but interesting quieter space between the main design focus.