The first two samples are based on MM134 from my shisha textile study in Chapter 6.

Sample 1 - Image MM185

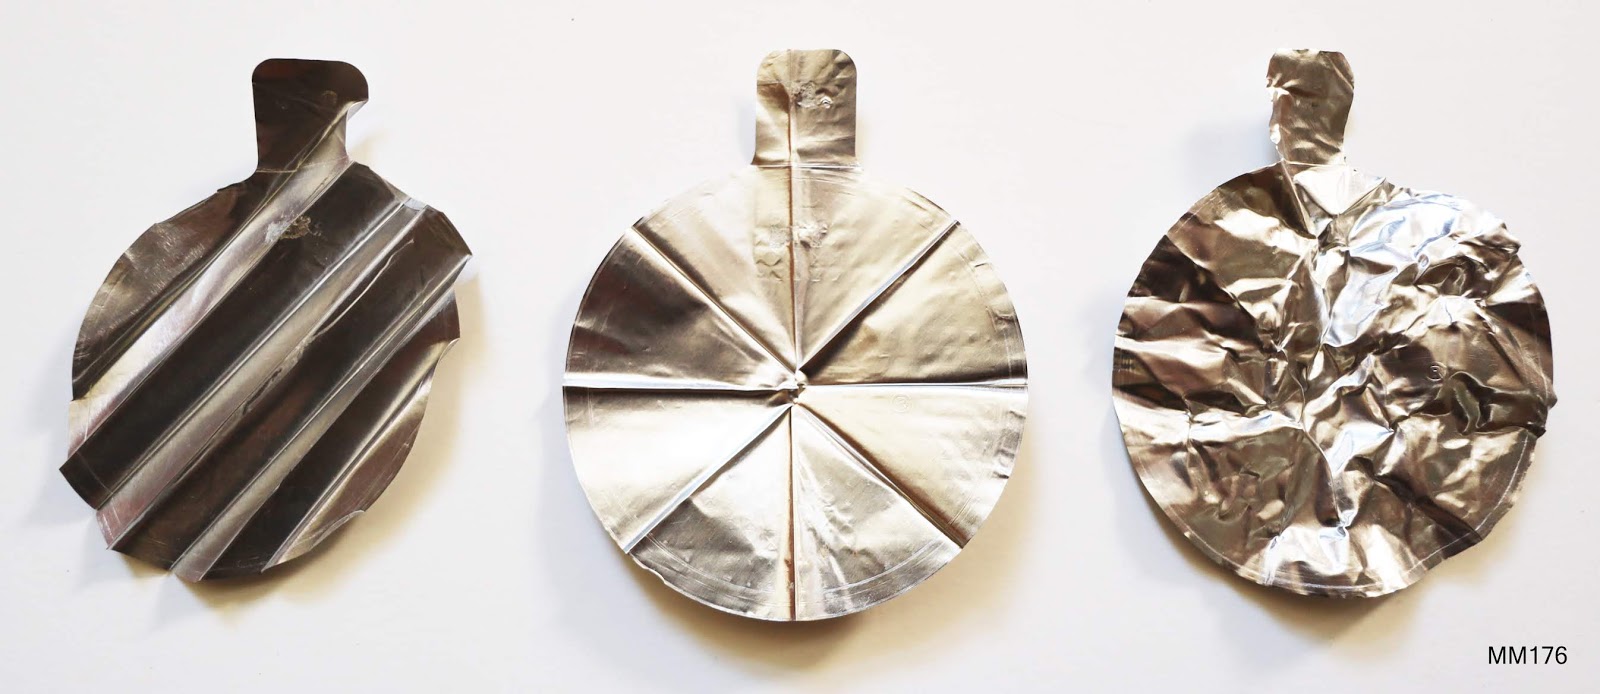
Image MM134 was inkjet printed onto Seawhites 140gms extra wet strength paper. The centres of the circles were removed using a scalpel. Inside top papers from Nescafé Azera, Philadelphia cheese and crab pate - each with different surface shininess - were polished using the back of a teaspoon and then embossed using the original stitched punch pocket as a relief source. Again the centres were cut out. Using free machine embroidery, a 90 ballpoint needle, metallic thread in the top and grey cotton in the bobbin, herringbone stitch from the design was mirrored to attach the embossed metallic circles and add additional detail. Though some of the embossing was lost through handling, enough was retained to give the three metallic circles the characteristic relief of the original design.
Sample 2 - Image MM186


Sample 3 - Image MM188


This sample used the tissue from Image MM123 which was attached to even weave fabric using paraffin wax. It was then hand stitched with metallic thread - French knots of various sizes, running stitch and back stitch to emphasize the main features of the design and add surface texture. Image 189 shows the surface texture created, both with the stitching and the wax.

Sample 4 - Image MM190

The blue teabag paper decorated with Markal Paintstik from Image MM91 was attached to evenweave using dilute PVA. This stabilised the teabag paper and gave a background for machine stitch. The outer circles were free machine embroidered with metallic gold on the top and navy machine embroidery thread in the bobbin in a circular motion. The tension was adjusted to pull the bobbin thread to the surface. The inner circles used light blue metallic in the bobbin. Due to the vagaries of metallic thread this was more difficult to control and therefore less prevalent on the surface of the work. The additional details were free machined, sometimes using ziz-zag to represent dots. This sample fell a bit flat.

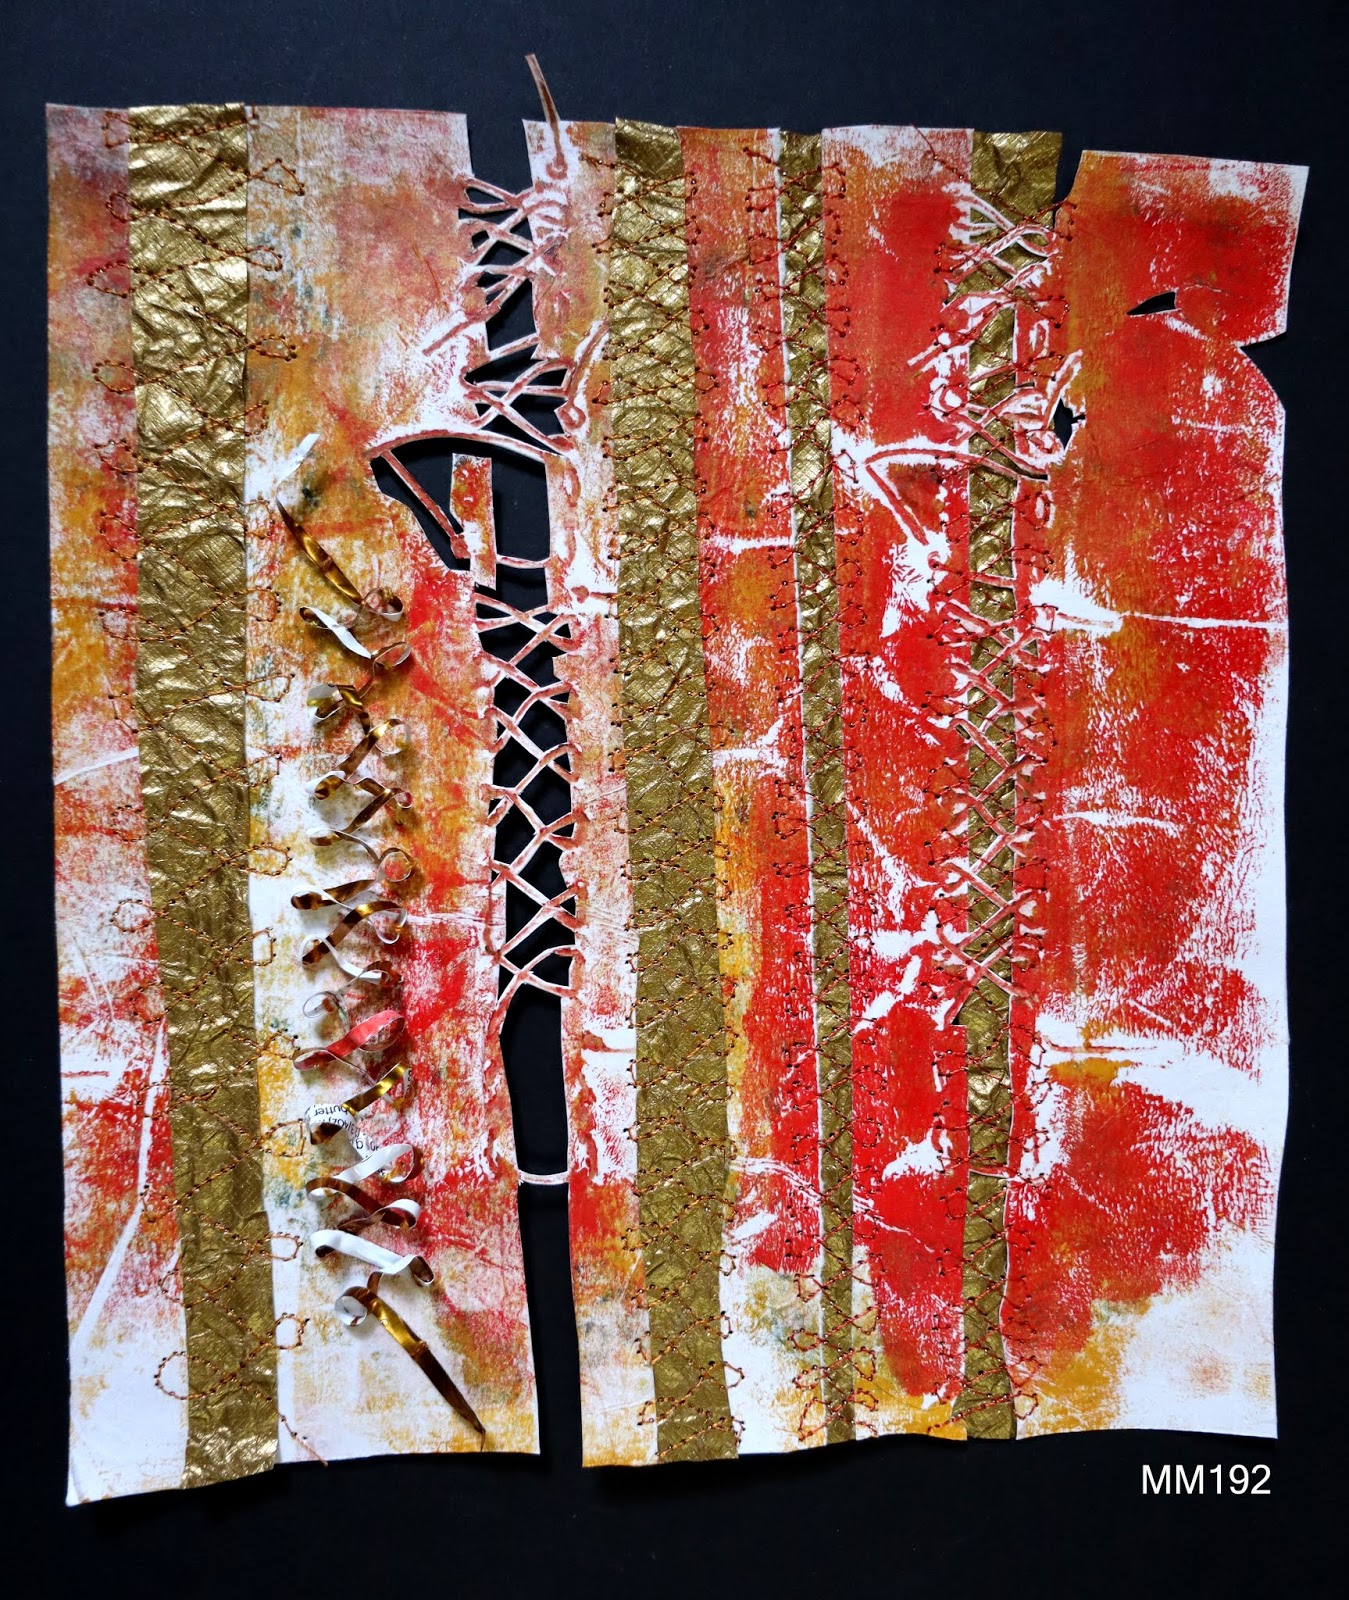
Sample 5- Image MM192


I felt this needed more surface texture, so added more topping. I cut a continuous strip from a tomato pureé tube and couched this to the surface, again mirroring the feeling of the original herringbone stitching - Images MM192/3.

Further Ideas for Applying Fragments of Metal with an Automated Machine Stitch
For both these samples I used a background from my shisha textile study in Chapter 6 - Image MM139 - acrylic on lining paper using gelli plate.

Sample 6 - MM194

Pieces of aluminium shim and silver tissue paper (for the oval) were cut and initially held in place with Pritt. My Bernina 1015 is rather lacking in decorative stitch patterns, so for this sample many lines of straight stitch were made to hold the metallics in place. These mirrored the brayer lines created when the sample was printed. The top thread was Madeira variegated metallic machine embroidery thread and the bobbin switched between red mercerised cotton and navy machine embroidery thread. Some lines of machining had been done before the tissue was added and these picked up the texture of the stitching beneath.
Sample 7 - MM195

Sample 5 is the most promising for me as it:
- is worked on paper
- has paper cutting, useful for creating shadows
- has layers
- has interesting surface texture.